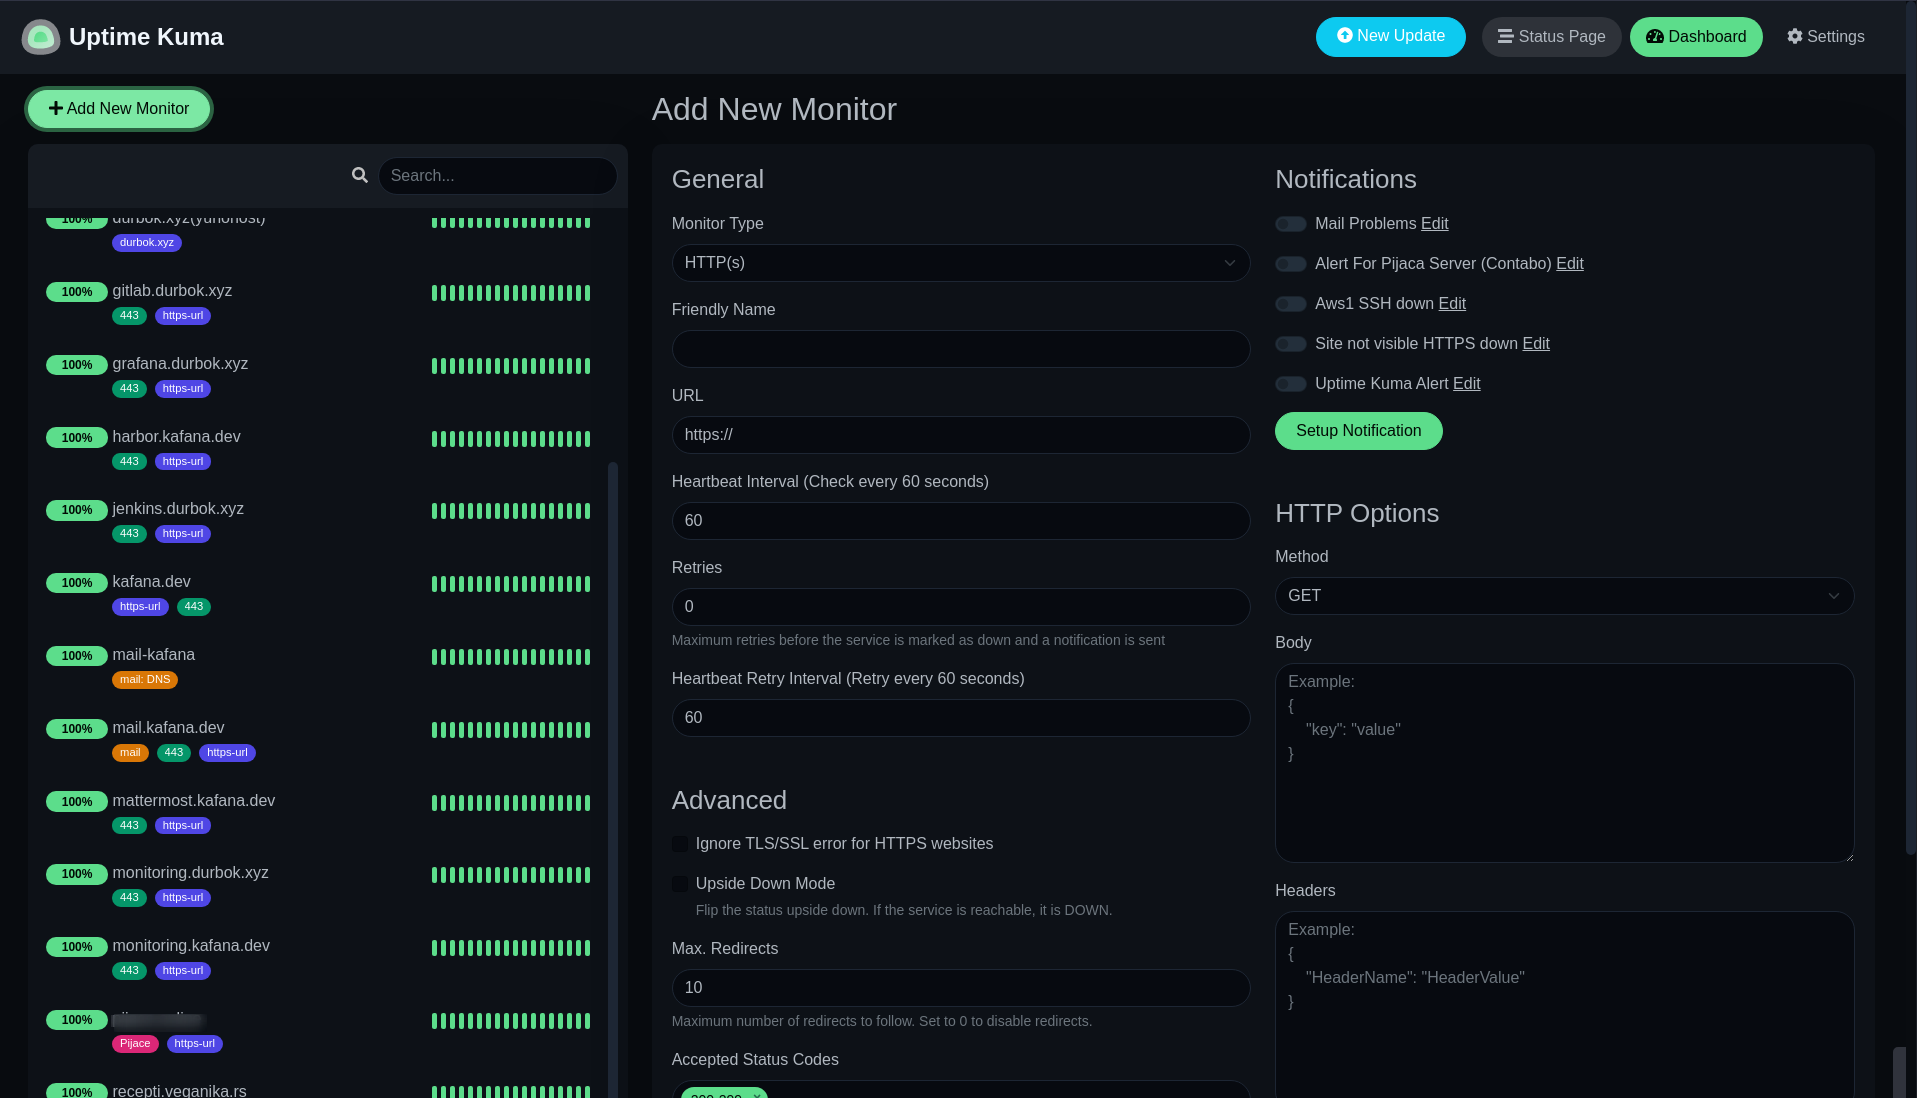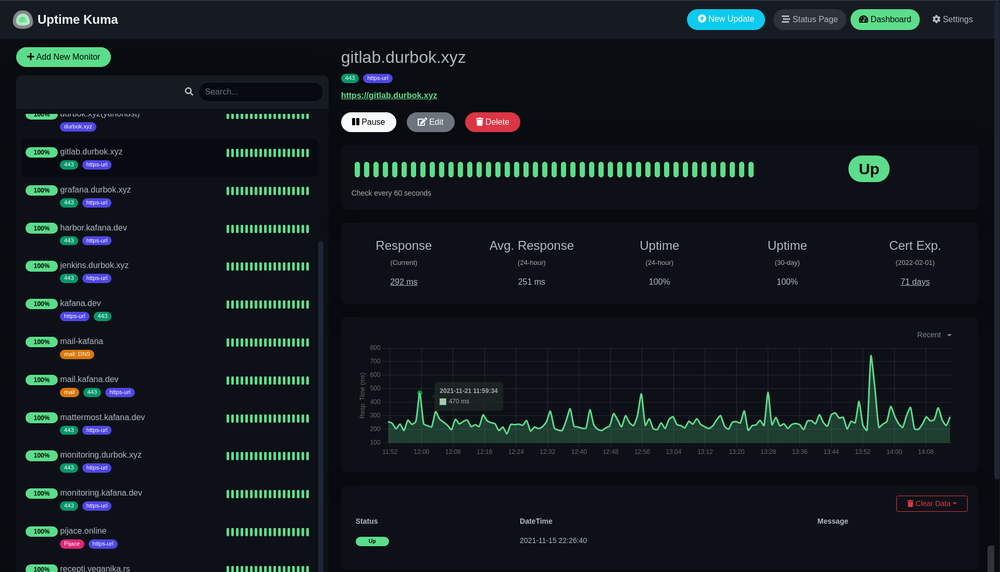
How To Install Uptime Kuma Monitoring Tool | Docker Swarm
This is a simple tutorial how to install uptime-kuma monitoring tool using docker and docker swarm.
It is a free self-hosted monitoring tool that has nice UI.
We need linux server, docker installed, ssl certs and swarm mode initiated (docker swarm init - command).
I used small aws t3.nano instance with 2 CPU and 500 mb RAM.
If you are using ubuntu you can use my script to install docker and docker compose:
curl https://gitlab.durbok.xyz/durbok/scripts/-/raw/main/ubuntu-20.04/install_docker.sh | shCreate directories:
mkdir kuma-data nginx-conf sslCreate docker-compose.yml:
nano docker-compose.ymlversion: '3.7'
services:
nginx:
image: nginx:stable-alpine
environment:
TZ: "Europe/Belgrade"
volumes:
- ./nginx-conf:/etc/nginx/conf.d
- ./ssl:/etc/nginx/ssl
networks:
- durbok-net
deploy:
placement:
constraints:
- node.role == manager
replicas: 1
restart_policy:
condition: on-failure
ports:
- 80:80
- 443:443
uptime-kuma:
image: louislam/uptime-kuma
environment:
TZ: "Europe/Belgrade"
volumes:
- ./kuma-data:/app/data
networks:
- durbok-net
deploy:
placement:
constraints:
- node.role == manager
replicas: 1
restart_policy:
condition: on-failure
networks:
durbok-net:
external: true
volumes:
nginx-conf:Create nginx .conf file for example uptime-kuma.conf:
nano nginx-conf/uptime-kuma.confserver {
listen 80;
listen [::]:80;
server_name uptime.yourdomain.com;
rewrite ^ https://$http_host$request_uri? permanent;
}
server {
listen 443 ssl http2;
listen [::]:443 ssl http2;
server_name uptime.yourdomain.com;
client_max_body_size 50M;
error_log /var/log/nginx/uptimekuma_error.log;
access_log /var/log/nginx/uptimekuma_access.log;
location / {
proxy_set_header X-Real-IP $remote_addr;
proxy_set_header X-Forwarded-For $proxy_add_x_forwarded_for;
proxy_pass http://monitor_uptime-kuma:3001/; # your docker service name if using docker
proxy_http_version 1.1;
proxy_set_header Upgrade $http_upgrade;
proxy_set_header Connection "upgrade";
client_max_body_size 50M;
}
# add_header Content-Security-Policy upgrade-insecure-requests;
ssl_certificate /etc/nginx/ssl/your-cert.pem;
ssl_certificate_key /etc/nginx/ssl/your-cert.key;
# ssl_dhparam /etc/nginx/ssl/dhparam.pem;
ssl_session_timeout 5m;
ssl_session_cache shared:SSL:5m;
#SSL Security
ssl_protocols TLSv1 TLSv1.1 TLSv1.2;
ssl_ciphers 'EECDH+AESGCM:EDH+AESGCM:AES256+EECDH:AES256+EDH';
#XP and IE6 support
#ssl_ciphers 'ECDHE-ECDSA-AES256-GCM-SHA384:ECDHE-RSA-AES256-GCM-SHA384:ECDHE-ECDSA-CHACHA20-POLY1305:ECDHE-RSA-CHACHA20-POLY1305:ECDHE-ECDSA-AES128-GCM-SHA256:ECDHE-RSA-AES128-GCM-SHA256:ECDHE-ECDSA-AES256-SHA384:ECDHE-RSA-AES256-SHA384:ECDHE-ECDSA-AES128-SHA256:ECDHE-RSA-AES128-SHA256';
ssl_ecdh_curve secp384r1;
ssl_prefer_server_ciphers on;
ssl_session_tickets off;
proxy_set_header X-Forwarded-For $remote_addr;
#Compress and optimize delivery of files
gzip on;
gzip_comp_level 5;
gzip_min_length 256;
gzip_vary on;
gzip_types
application/atom+xml
application/javascript
application/json
application/ld+json
application/manifest+json
application/rss+xml
application/vnd.geo+json
application/vnd.ms-fontobject
application/x-font-ttf
application/x-web-app-manifest+json
application/xhtml+xml
application/xml
font/opentype
image/bmp
image/svg+xml
image/x-icon
text/cache-manifest
text/css
text/plain
text/vcard
text/vnd.rim.location.xloc
text/vtt
text/x-component
text/x-cross-domain-policy;
# text/html is always compressed by gzip module
}
Add your SSL certs to ssl folder previously created.
We are almost there. Before running "docker stack deploy" command we need to create docker network.
docker network create durbok-net -d overlay --attachableAnd finally deploy with:
docker stack deploy -c docker-compose.yml monitorEnjoy. This app is amazing!